一、部署GitLab
参考网址:https://help.aliyun.com/zh/ecs/use-cases/deploy-and-use-gitlab
本教程提供云市场镜像和手工部署两种方式部署GitLab环境,您可以根据需求选择对应的操作。
使用镜像部署GitLab环境
手动部署GitLab环境
执行以下命令,安装依赖包。
sudo yum install -y curl policycoreutils-python openssh-server
说明
本教程中示例场景的操作系统为CentOS 7.2 64位。如果您使用CentOS 8系统的ECS实例, 执行以上命令将出现找不到依赖包policycoreutils-python的问题,原因是CentOS 8的软件源中没有包含该依赖包。该依赖包不影响部署GitLab,您可以忽略该问题继续执行下文中的命令。
此外,由于CentOS 8结束生命周期(EOL),如果您使用CentOS 8系统的ECS实例,请先切换源地址。具体操作,请参见CentOS 8 EOL如何切换源?。
依次执行以下命令,配置SSH服务。
执行以下命令,启动SSH服务。
sudo systemctl start sshd
执行以下命令,设置SSH服务为开机自启动。
sudo systemctl enable sshd
执行以下命令,安装Postfix来发送通知邮件。
sudo yum install -y postfix
如果提示类似以下报错信息,请执行rpm --import https://repo.mysql.com/RPM-GPG-KEY-mysql-2022命令后,重新安装Postfix。
Falling package is :mysql-community-libs-compat-5.7.41-1.el7.x86_64
GPG Keys are configured as: file:///etc/pki/rpm-gpg/RPM-GPG-KEY-mysql
执行以下命令,设置Postfix开机自启动。
sudo systemctl enable postfix
执行以下命令,启动Postfix服务。
执行以下命令,打开main.cf文件。
sudo vim /etc/postfix/main.cf
找到如下图所示的代码,然后按i进入编辑模式。
 将
将inet_interfaces = localhost修改为inet_interfaces = all。
按Esc退出编辑模式,然后输入:wq并回车,保存关闭文件。
执行以下命令,启动Postfix服务。
sudo systemctl start postfix
执行以下命令,添加GitLab软件包仓库。
sudo curl https://packages.gitlab.com/install/repositories/gitlab/gitlab-ce/script.rpm.sh | sudo bash
说明
由于网络原因,可能会出现无法添加GitLab软件包仓库的问题,建议您多尝试几次。
执行以下命令,安装GitLab。
sudo EXTERNAL_URL=<GitLab服务器的公网IP地址> yum install -y gitlab-ce
示例命令如下:
sudo EXTERNAL_URL=114.55.XX.XX yum install -y gitlab-ce
如果出现类似如下回显信息,表示已经安装成功。
gitlab Reconfigured!

       *.                  *.
      ***                 ***
     *****               *****
    .******             *******
    ********            ********
   ,,,,,,,,,***********,,,,,,,,,
  ,,,,,,,,,,,*********,,,,,,,,,,,
  .,,,,,,,,,,,*******,,,,,,,,,,,,
      ,,,,,,,,,*****,,,,,,,,,.
         ,,,,,,,****,,,,,,
            .,,,***,,,,
                ,*,.


     _______ __  __          __
    / ____(_) /_/ /   ____ _/ /_
   / / __/ / __/ /   / __ `/ __ \
  / /_/ / / /_/ /___/ /_/ / /_/ /
  \____/_/\__/_____/\__,_/_.___/


Thank you for installing GitLab!
GitLab should be available at http://139.196.XX.XX
说明
您可从ECS管理控制台的实例与镜像实例页面找到GitLab所属ECS实例的公网IP地址。
执行以下命令,获取GitLab的登录密码。
cat /etc/gitlab/initial_root_password
回显信息类似如下所示,您可以在Password后获取GitLab的登录密码。
[test ~]# cat /etc/gitlab/initial_root_password
# WARNING: This value is valid only in the following conditions
#          1. If provided manually (either via `GITLAB_ROOT_PASSWORD` environment variable or via `gitlab_rails['initial_root_password']` setting in `gitlab.rb`, it was provided before database was seeded for the first time (usually, the first reconfigure run).
#          2. Password hasn't been changed manually, either via UI or via command line.
#
#          If the password shown here doesn't work, you must reset the admin password following https://docs.gitlab.com/ee/security/reset_user_password.html#reset-your-root-password.

Password: Q97P1BrLZObjyISpQYkJqnKKSRQ+eyZ5/l5i52VJ****

# NOTE: This file will be automatically deleted in the first reconfigure run after 24 hours.
登录GitLab。
在浏览器的地址栏中,输入ECS服务器的公网IP即可进入GitLab的登录界面,首次登录使用用户名root,密码为1获取的密码。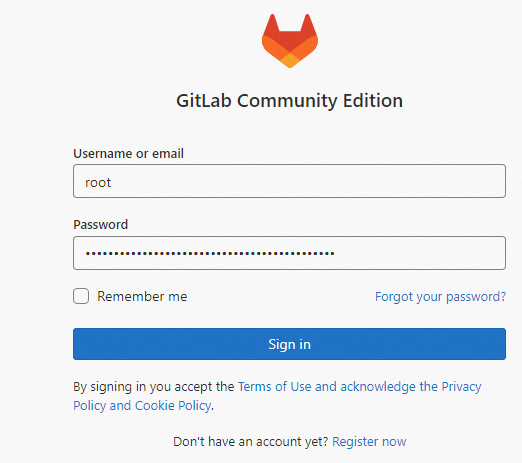
登录成功后界面如下。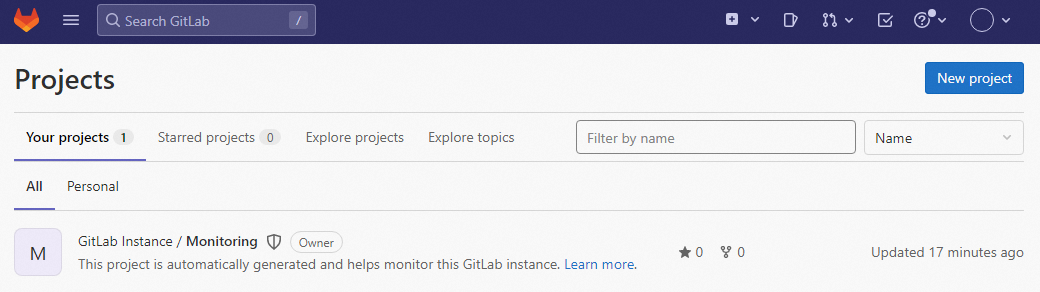
创建Project。
在页面左上角,单击Add SSH key。
将公钥文件id_rsa.pub中的内容粘贴到Key所在的文本框中。
单击Add key,SSH Key添加完成后,如下图所示。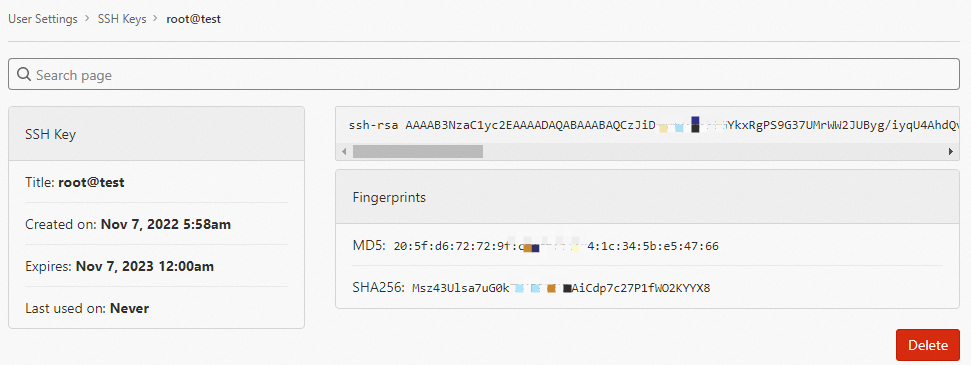
执行以下命令,使用Linux自带的软件源安装Git工具。
sudo yum install git
执行以下命令,生成密钥对文件。
执行以下命令,生成密钥文件.ssh/id_rsa。
sudo ssh-keygen
生成密钥对的过程中,系统会提示输入密钥对存放目录和密钥对密码,您可以手动输入,也可以按Enter保持默认。回显信息类似如下所示。
[test ~]# ssh-keygen
Generating public/private rsa key pair.
Enter file in which to save the key (/root/.ssh/id_rsa):
Enter passphrase (empty for no passphrase):
Enter same passphrase again:
Your identification has been saved in /root/.ssh/id_rsa.
Your public key has been saved in /root/.ssh/id_rsa.pub.
The key fingerprint is:
SHA256:Msz43Ulsa7uG0kZV4P9k0XkAiCdp7c27P1fWO2K**** root@test
The key's randomart image is:
+---[RSA 2048]----+
|         +.o...  |
|        =.+ .  o.|
|       . +.+  ..o|
|     +   .o.o  ..|
|    . = S.+ ..o .|
|     . +.+ =.+  +|
|      .o..* =...o|
|      . +..+.+.E.|
|       o .o...**.|
+----[SHA256]-----+
执行以下命令,,查看并复制公钥文件id_rsa.pub中的内容,便于后续步骤使用。
cat .ssh/id_rsa.pub
回显信息类似如下所示。
[test ~]# cat .ssh/id_rsa.pub
ssh-rsa AAAAB3NzaC1yc2EAAAADAQABAAABAQCzJiDMwmPXi830GYkxRgPS9G37UMrWW2JUByg/iyqU4AhdQvFFKPk/SQsneKjj+xFcykr1tuPozb9WV5rXepe3BAmwcB//YSF79cA/1dFdse2Ts0FoKpdyPcSYfMuccI55Mov3gil8+QS7Rkojx6bebZi6Iou2M8YFR6Qyv1ujn4BEk3NA31b1hBUGwMrbvxdXB9aAsnUr9/h3FB4B7k4PZhm+x6qkQpPtZLOlGS7J5kHsu722Z9ITeWJdsKqtQz6XW78yU01QmMY8Nql3jbt5bva5qqE9V458OWytvj+dLTTypMLBvYefSxut2sUt7b5SQx9fchDuf1OvU5Tl**** root@test
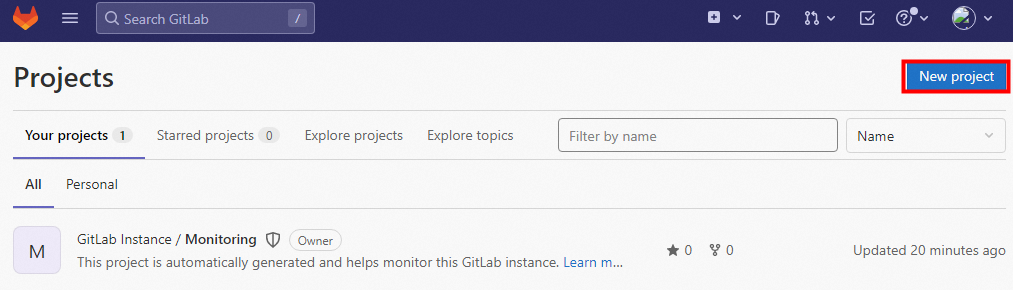
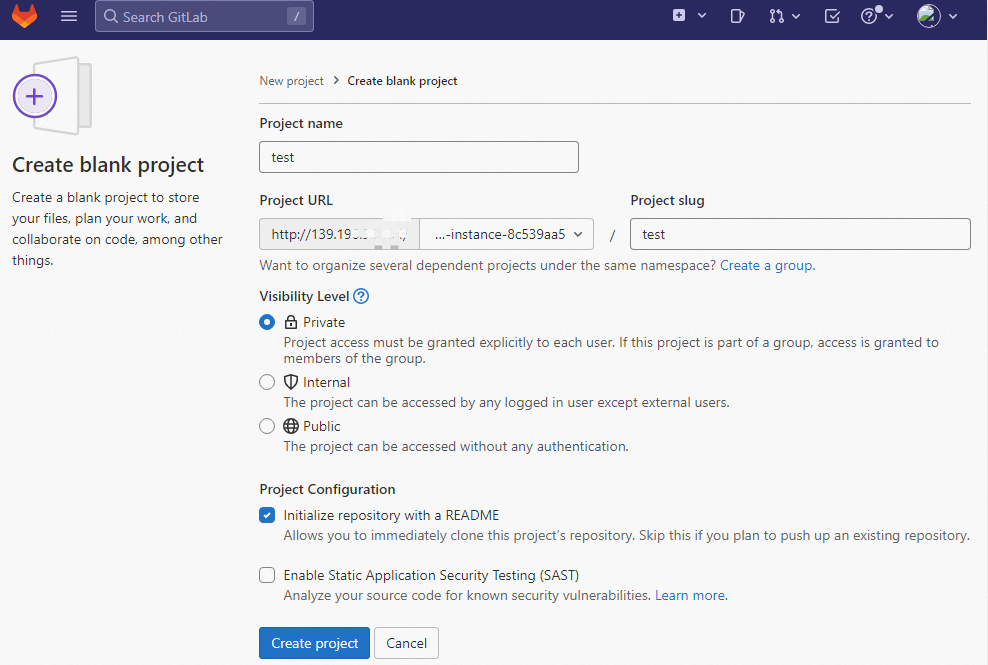
在GitLab的主页中,单击New Project,新建一个Project。
在Create new project页面,单击Create blank project,并设置Project相关配置项。
添加SSH key。
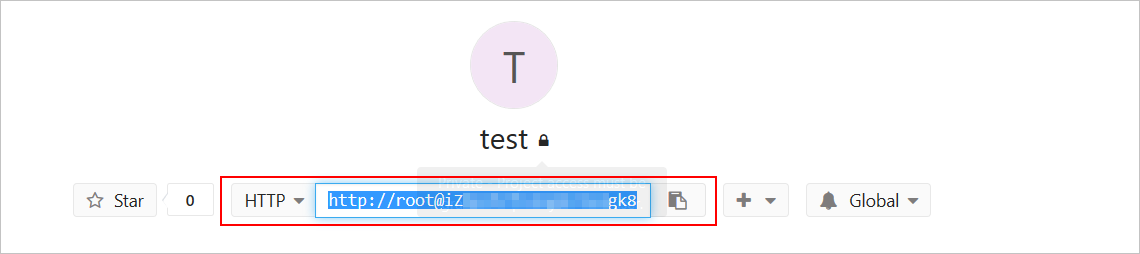
保存项目地址,该地址在进行克隆操作时需要用到。
简单配置。
执行以下命令,配置使用Git仓库的人员姓名。
sudo git config --global user.name "testname"
执行以下命令,配置使用Git仓库的人员Email,填写自己的公司邮箱。
sudo git config --global user.email "abc@example.com"
执行以下命令,克隆项目,在本地生成同名目录,并且目录中会有所有的项目文件。
sudo git clone git@iZ****3Z:root/test.git

上传文件。
执行以下命令,进入到项目目录。
cd test/
执行以下命令,创建需要上传到GitLab中的目标文件。
sudo echo "test" > /root/test.sh
执行以下命令,将目标文件或者目录复制到项目目录下。
sudo cp /root/test.sh ./
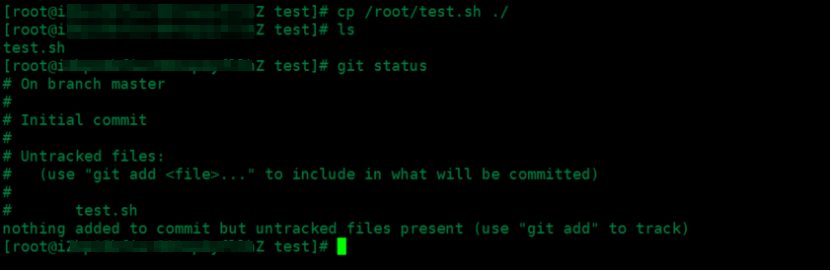
执行以下命令,将test.sh文件加入到索引中。
sudo git add test.sh
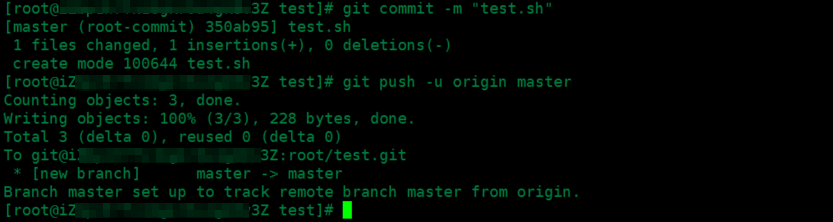
执行以下命令,将test.sh提交到本地仓库。
sudo git commit -m "test.sh"
执行以下命令,将文件同步到GitLab服务器上。
sudo git push -u origin master
在网页中查看上传的test.sh文件已经同步到GitLab中。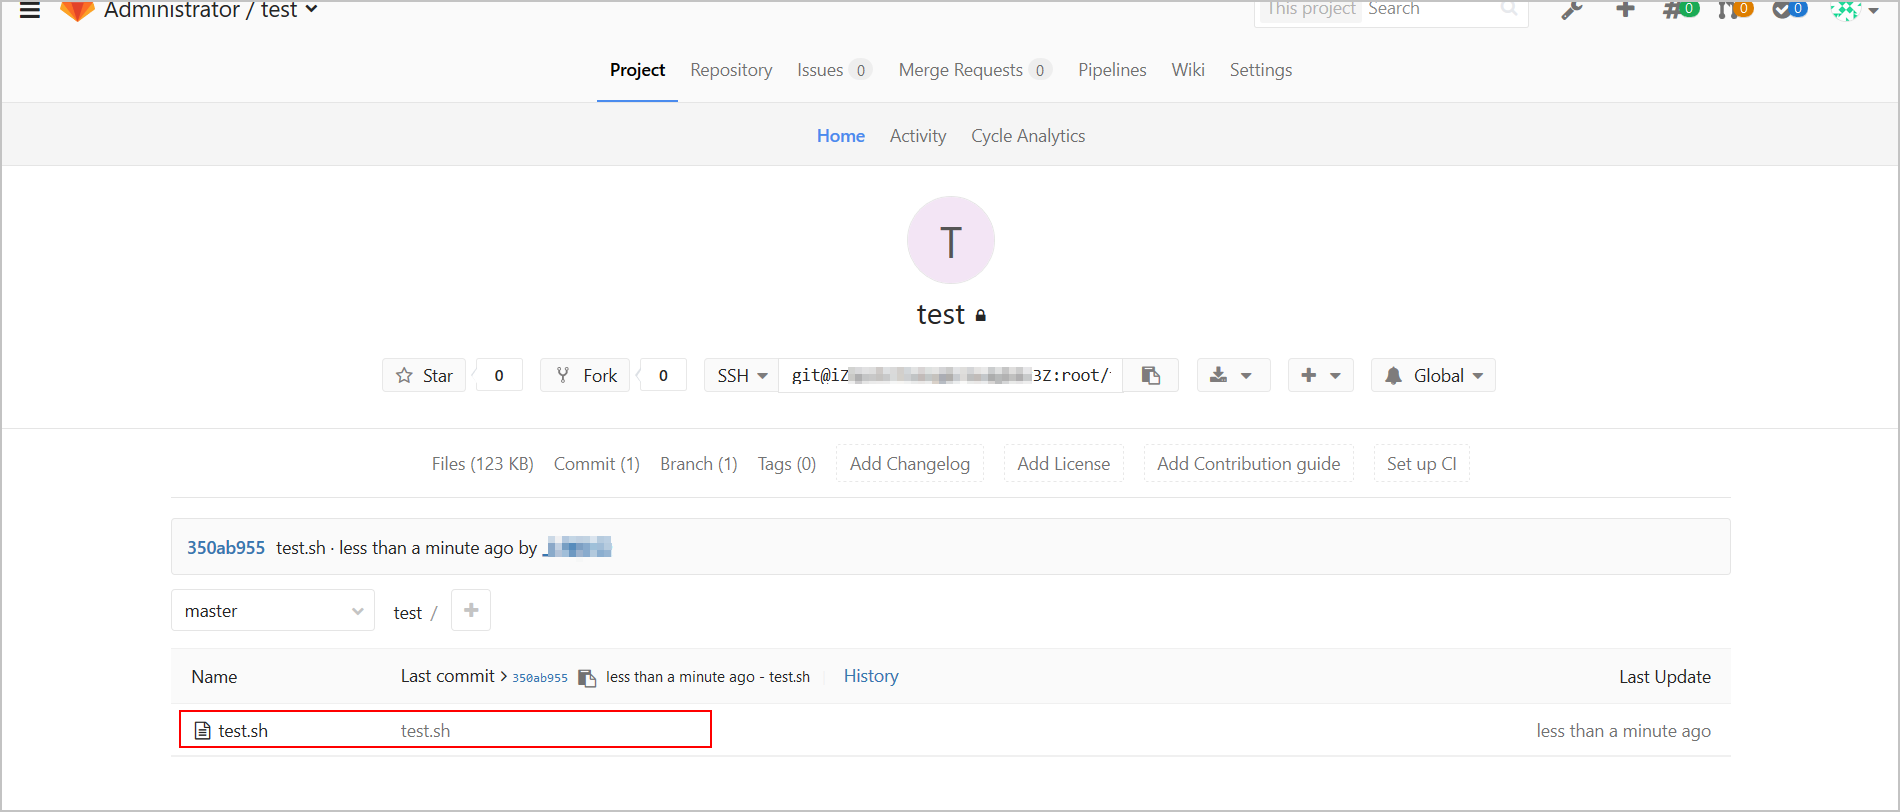
二、使用GitLab
1、Gitlab 修改默认端口
gitlab默认需要使用80 8080 等端口,我的centos上有使用这些端口的其他软件;所以必须更改。
步骤如下:
修改 gitlab.yml
进入目录: /var/opt/gitlab/gitlab-rails/etc
将gitlab.yml 中的host和port修改成自己需要的
production: &base
  #
  # 1. GitLab app settings
  # ==========================
  ## GitLab settings
  gitlab:
    ## Web server settings (note: host is the FQDN, do not include http://)
    #host: gitlab.example.com
    #port: 80
    host: IP地址或者域名
    port: 设定端口号1,如8090
    https: false  这里的端口号1 与nginx监听的端口号 要相同
修改完成后,重启下,就可以访问 8090 端口的 gitlab 了。
gitlab-ctl restart
注意,不可以运行 gitlab-ctl reconfigure
这样会把上面的配置重新还原。
部署gitlab的时候,一启动,发现80和8080端口已经被占用,无奈,只得先将监听80端口的nginx和监听8080端口的jenkins停止。这会儿有空,琢磨一下如何修改gitlab的默认端口。
修改主要分为两部分,一部分是gitlab总的控制文件,一部分是子模块真实监听端口的修改。
当前我使用的是官方rpm 813版本。
gitlab.rb修改
配置文件在/opt/gitlab/etc/gitlab.rb。这个文件用于gitlab如何调用80和8080的服务等。

## Advanced settings
unicorn['listen'] = '127.0.0.1'
unicorn['port'] = 8082


nginx['listen_addresses'] = ['*']
nginx['listen_port'] = 82 # override only if you use a reverse proxy: https://gitlab.com/gitlab-org/omnibus-gitlab/blob/master/doc/settings/nginx.md#setting-the-nginx-listen-port
配置文件/var/opt/gitlab/gitlab-rails/etc/unicorn.rb
# What ports/sockets to listen on, and what options for them.
#listen "127.0.0.1:8080", :tcp_nopush => truelisten "127.0.0.1:8082", :tcp_nopush => truelisten "/var/opt/gitlab/gitlab-rails/sockets/gitlab.socket", :backlog => 1024
配置文件 /var/opt/gitlab/nginx/conf/gitlab-http.conf。这个文件是gitlab内置的nginx的配置文件,里面可以影响到nginx真实监听端口号。
server {
  listen *:82;

  server_name gitlab.123.123.cn;
  server_tokens off; ## Don't show the nginx version number, a security best practice
修改完成后,重启下,就可以放82端口的gitlab了。
gitlab-ctl restart
如果还是想从80端口访问gitlab,我们可以用监听在80端口的nginx做一个反向代理。service nginx restart后可以正常访问。
server {
    listen 80;
    server_name gitlab.123.123.cn;

    location / {        #rewrite ^(.*) http://127.0.0.1:8082;
        proxy_pass http://127.0.0.1:8082;
    }
}
后来在提交的时候,出现了错误:
找了关于8080端口的相关信息,最后发现
配置文件:/var/opt/gitlab/gitlab-shell
修改成
# GitLab user. git by defaultuser: git# Url to gitlab instance. Used for api calls. Should end with a slash.#gitlab_url: "http://127.0.0.1:8080"gitlab_url: "http://127.0.0.1:82" ## 关键是这个地方,因为82是gitlab nginx端口,不过上面的端口干嘛是8080来,8080应该是unicorn的监听端口。http_settings:

微信扫码添加微信好友